By Eileen Wheeler, Ph.D., Professor of Agricultural Engineering
The stall is a fundamental element to stabling or sheltering horses. While a basic backyard stall for a pleasure horse may look different from one in a full-service boarding facility, both are designed to provide a suitable environment for horses and their handlers. Safety for both the human and animal should be a top priority in stall design. It is essential that the horse is comfortable, and that the handler can perform daily tasks conveniently. Regardless of your operating systems or specific needs, the main elements of a safe horse stall remain consistent. There are numerous options available that can influence both the functionality and cost of stall features.
This article outlines key stall characteristics suitable for a typical 1,000-pound horse, with dimensions that can be adapted for significantly larger animals.
Dimensions
The stall's dimensions should be dictated by the horses size and the amount of time spent in the stall. A large horse needs more space than a small pony to comfortably rest on the ground, get up, and turn around. For the average 1,000-pound horse, a 12-foot by 12-foot stall is typically recommended. While plenty of stables effectively use stalls a bit smaller than this, walls shorter than 10 feet are not advisable. Typically, the stall wall should measure about one-and-a-half times the horse’s length. If a horse is in the stall for extended periods or is particularly active, a larger stall may be warranted. Additionally, removing a divider between two single stalls can create extra space for a mare and foal or a horse confined to a stall.
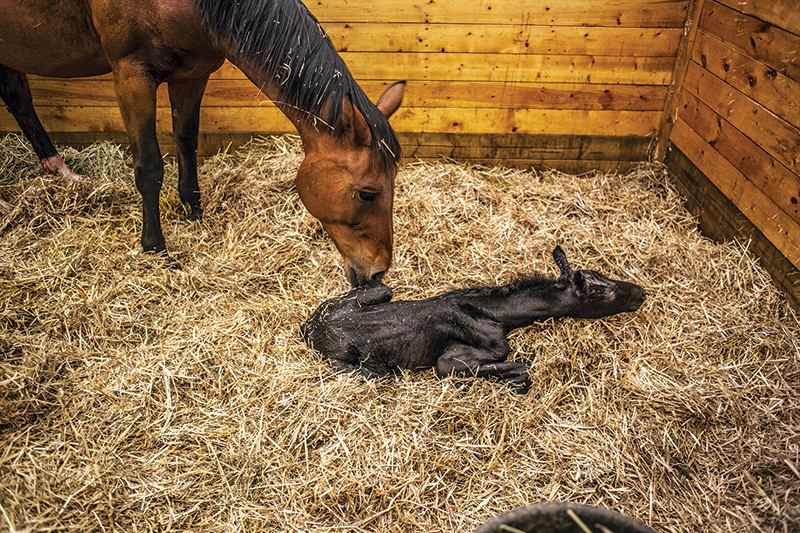
A removable divider between stalls is convenient when stall size must be increased for a mare and foal, or to house a larger or stall-bound horse. Photo: Shutterstock/Christopher Gardiner
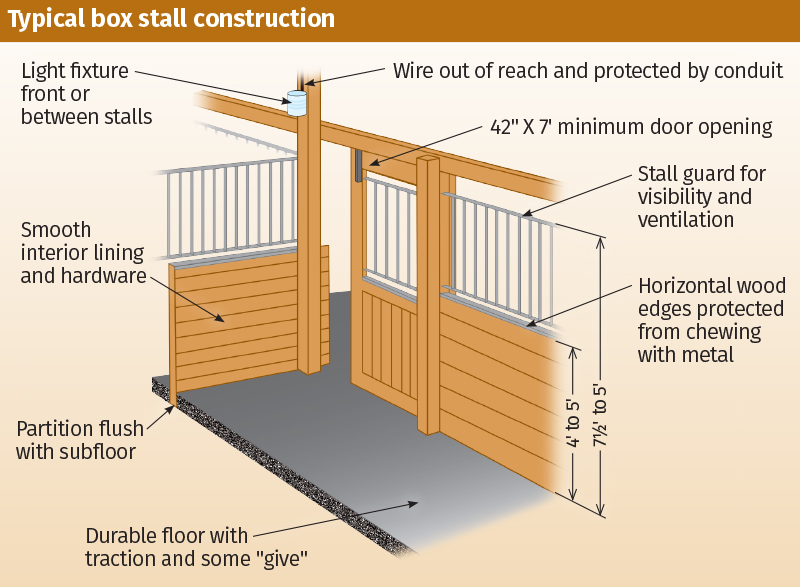
An eight-foot-high stall partition is standard. Partition height needs to be at least seven-and-a-half feet to prevent horses from getting legs over the wall. Most horses can kick as high as seven feet. An eight-foot-tall by four-foot-wide stall doorway opening has been the recommendation for years, although this is not often seen in stables. Stall door manufacturers typically supply a doorway opening of slightly over seven feet with a 42- to 45-inch width. These are the dimensions of the actual open area that the horse can pass through. These smaller doorway openings are adequate for horse and handler safety.
Horse barns are commonly built with a ceiling height of ten to twelve feet with eight feet being the minimum. A low ceiling not only inhibits air circulation, but also increases the chance that a horse may strike its head. In fact, many stables have open truss or rafter construction with no ceiling. In this case, the minimum height is the clearance to the lowest item on which a horse may strike its head, such as a light fixture or truss bottom chord.
Doors
Doors come in a wide variety of materials and configurations, although swinging and sliding doors are common. Doors can cover the full length of the doorway opening, be divided into two panels (Dutch door), or partially cover half to three-quarters of the opening, which is more common with metal mesh doors.
Swing doors should open into the aisle rather than into the stall. Open swing doors decrease aisle workspace but may be latched open to alleviate this problem. They also require less hardware to function properly, but heavy-duty hinges are needed to prevent sagging. Sliding doors, in addition to the overhead track, need a stop to prevent the door from opening too far and falling off the track. They also need floor-level guides to keep the lower portion in place when the horse is pawing, leaning, or kicking at the door. Full-length doors should have less than three inches of clearance under them to prevent the horse from getting a hoof or leg stuck.
All doors and doorjambs need to be durable, with secure latches, and free of sharp edges or protrusions. For example, door guides on sliding doors should be rounded and out of the traffic path. Door latches and other clasps that can be operated with one hand are an advantage at chore time. Position door latches out of reach of horses that may find pleasure in learning how to operate them. Horses may try to jump over doors that are half height (such as a Dutch door); however, options are available that allow a horse to hang its head out, yet discourage jumping.
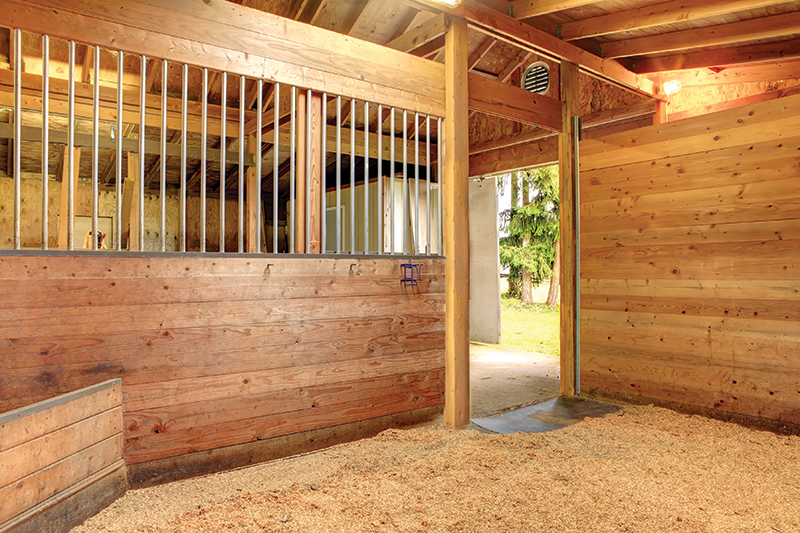
Photo: Canstock/Irina88w
Lighting and Ventilation
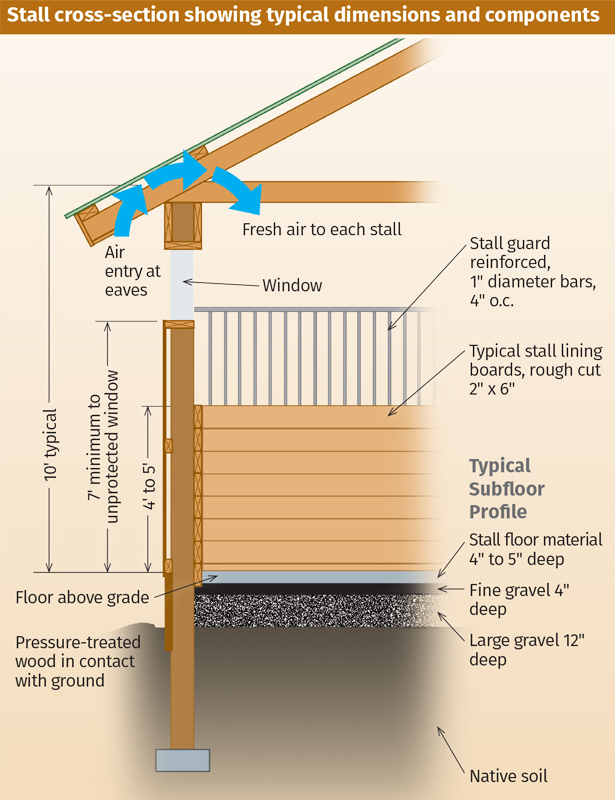
Lighting is important for proper care and observation of stalled horses. Shadows and poorly lit areas make stall cleaning cumbersome and inhibit observation and care. For natural lighting, provide a minimum of four square feet of window space in each stall. Glass windows should be either out of reach (generally above seven feet) or protected by sturdy bars or mesh. Plexiglas is a good option for window glazing.
Place electric fixtures along the front or side walls to decrease shadows in the stall. One fixture above the center creates shadows as the horse comes to the front of the stall for observation. Position fixtures at least eight feet high to minimize contact with the horse. For further protection, provide a shatterproof cage, which is available at most lighting supply stores.
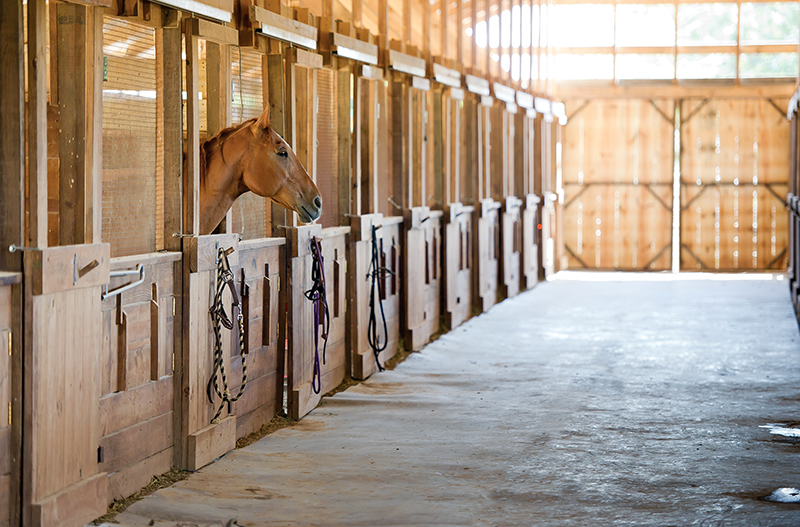
This custom-built stable features plenty of natural light and an open ceiling for good air circulation. Photo: Dreamstime/Michael Leung
All electrical wiring in the barn should be housed in metal or hard plastic conduit since rodents may chew unprotected wires, creating a fire hazard. Metal conduit can be used but has the tendency to rust. Position electrical wiring out of reach of horses, children, and pets.
Fresh air should be available to every horse for good respiratory health. A window, which opens for each stall, eave and ridge vents, and no ceiling (or at least a high ceiling), will enhance fresh air exchange. Storing hay and bedding over the top of the stalls is not recommended. Not only are these substances a fire hazard, but they also carry allergens and inhibit air circulation.
Open panels on the tops of stall dividers and open mesh doors help the air circulate within the stall interior. Often, the stable aisles are well ventilated while the stalls suffer from stagnant air caused by poor air circulation.
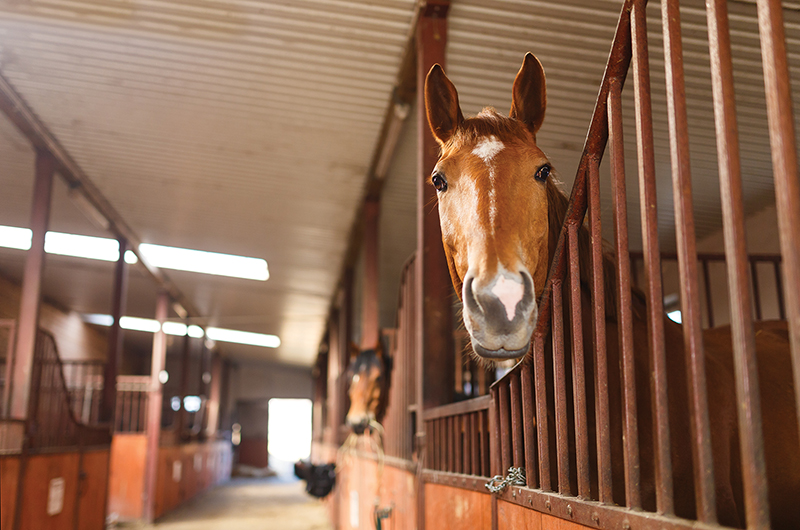
Photo: Shutterstock/Konstantin Tronin
Partition Design
Stall dividers are commonly two-inch-thick rough-cut oak or tongue-and-groove pine. Kicking and chewing damage is more obvious with softwoods, with most kicking damage in the lower five feet of the partition. Use pressure-treated lumber for the bottom boards in contact with the ground. Plywood (three-quarter-inch minimum width) is an alternative to boards. Unlike boards, which may shrink, warp, or crack, plywood dissipates kicks, giving it a better strength-to-weight ratio. For a more fire-resistant alternative to wood, concrete (block or poured) and stone may be used. Concrete provides strength and durability but has been criticized for its thermal characteristics, high construction cost, and unyielding nature against kicks.
Stall partitions should be about eight-feet high and be flush with the stall sub-floor to prevent hooves from getting caught underneath. Boards can be spaced up to one-and-a-half inches apart to enhance air movement between stalls while discouraging encounters between stall occupants. With spaced boards, use vertical centre bracing to stabilize the twelve-foot-long wall and prevent the boards from breaking if kicked. Horizontal wood edges are vulnerable to being chewed by horses unless capped with metal.
Stall walls do not have to be solid all the way to the top. An open panel design at the top allows for better ventilation and easy observation of the horse. It also allows horses to see their companions and other barn activities to decrease boredom and vices. An open panel partition has solid materials along the bottom 48 to 60 inches, with an open panel on top. Bars of three-quarters- to one-inch diameter pipe, or equivalent, are common. Place bars no more than three inches apart or use a heavy-gauge wire mesh with approximately two-inch openings. Metal electrical conduit is not strong enough for bars. To keep hooves from getting stuck between the openings, be sure the bar material is reinforced so it will not bend when kicked and allow the hoof to go through and be trapped. Some horses behave better if they cannot see their neighbors, in which case, a temporary solid panel (plywood, for example) can be installed over the bars or mesh.
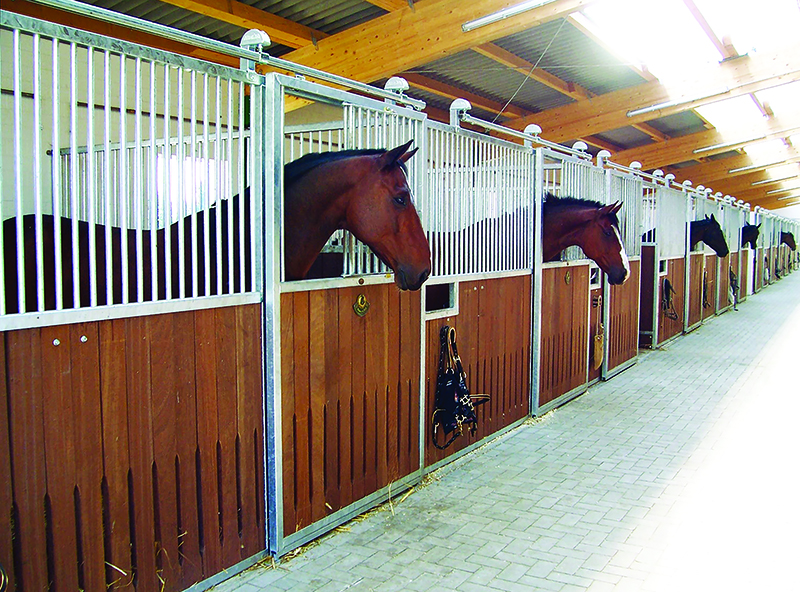
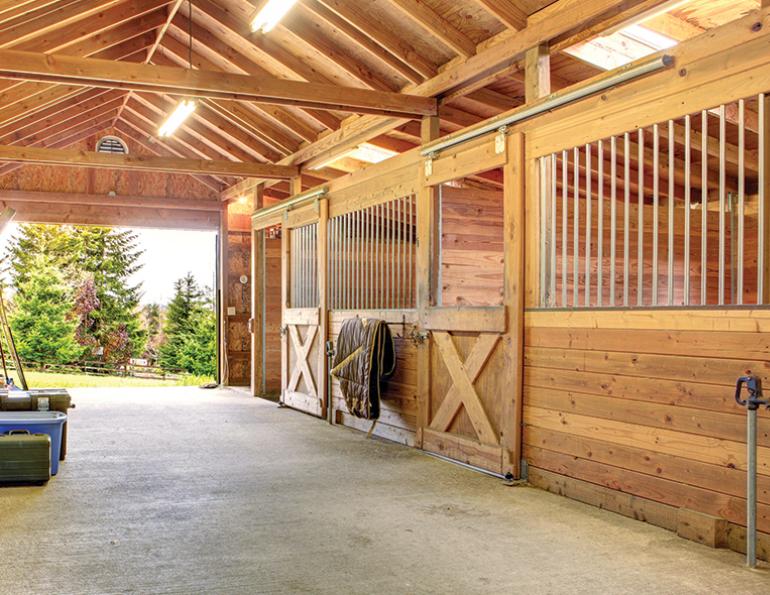
A bright and pleasant stable, with stall fronts featuring sliding bars that open in the top portion to allow horses to look out, and ventilation vents between boards in the bottom portion. Skylights and stall windows provide ample natural light. Photo: Wikipedia/Horseexperts
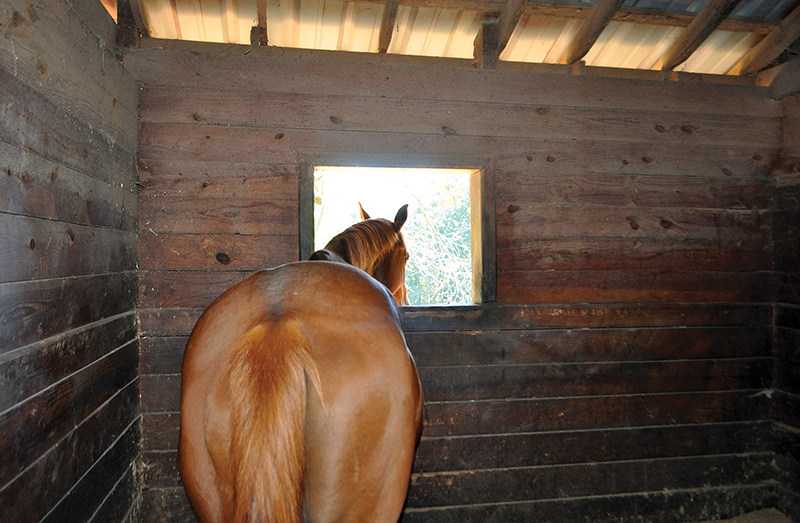
A stall window allows horses to see other barn activities and decreases boredom and vices. The window and eave vents improve air circulation.
Fixtures
Horse stall interiors, including hardware, need to be smooth, rugged, and free of projections. Typical stall fixtures include a water bucket or automatic drinker, feed tub, a ring for tying the horse, and optional items such as a hay rack or ring for a hay net/bag, and environmental enrichment devices (toys). When purchasing stall fixtures, consider cost, durability, ease of replacement, and ease of cleaning, especially for feed and water buckets. Horses are fast, strong animals that have all day to play with the stall components. Choose high-quality, durable hardware for long-term, trouble-free use.
Grain and water
Be sure to separate feed and water stations in the stall. A horse will drop grain into the water bucket as he chews his ration if it is within reach of the feed tub. Water and feed buckets should be fastened to the wall rather than placed on the floor where they can be tipped over. The bucket rim should be positioned just above horse chest-height at nose level. This is low enough to allow the horse to reach it comfortably, yet reduce the chance of the horse stepping in it. Unfortunately, the correct placement of buckets is the ideal height for manure to be deposited in them. Fixtures to hang buckets should be smooth, free of gaps, and fastened securely to the wall. An eyehook and double-ended snap work well for buckets with a bail handle. Some manufacturers provide feed tubs and buckets with hardware for safe and secure wall attachment. The hardware should be equally safe whether the bucket is present or not. Be sure that fasteners allow easy bucket removal for frequent cleaning.
The decision to provide water in buckets or by using automatic watering devices is usually based on cost and management preferences. An automatic drinker is more expensive than a bucket to purchase and install. Drinkers reduce the time needed to complete daily activities, but are not a watering cure-all. Drinkers, like buckets, need to be checked daily to ensure that they are free of manure and contain fresh water. Any watering device needs to be cleaned of algae and debris on a regular basis. Horses will drink more water if they have a clean bucket with fresh water. Buckets allow water to be easily removed from the stall for post-exercise or treatment purposes, and allow you to monitor the horse’s water intake. Proper drinker placement is similar to water bucket placement in height and separation from the feed tub. Some models allow two stalls to share one drinker.
Select an automatic drinker by considering the strength and maintenance requirements of the materials that will come in contact with the horse, the smoothness of these surfaces, water refill mechanism, and ease of cleaning. Some drinkers require the horse to lower the level of the water to refill it, whereas a refill mechanism that requires the horse nose to open a valve can be difficult or frightening for some horses to use. Valve mechanisms can also be seen as a toy, and some horses delight in holding the valve open and flooding the stall. In colder climates, protection is needed to prevent waterlines from freezing and breaking. Methods to consider include burying the lines, heating the barn, providing access to ground heat below the frostline, and/or using electrical heat tape on exposed waterlines.
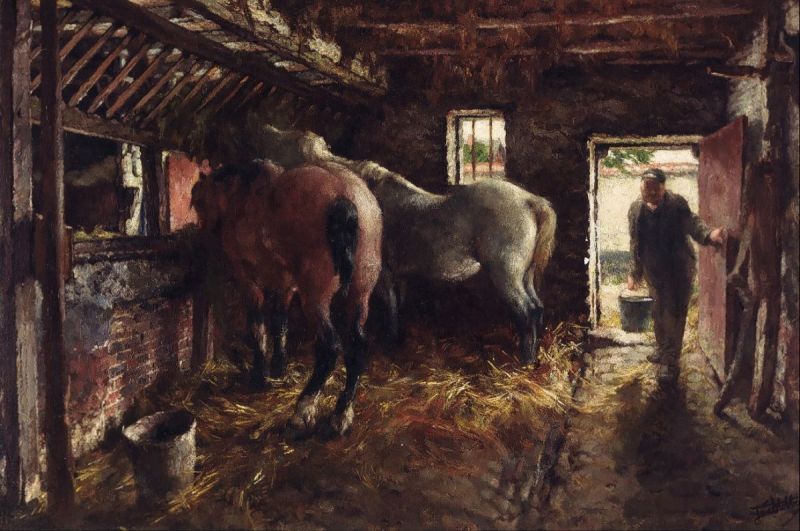
Painting by Jan Stobbaerts of a horse stable in Woluwe, Belgium, between 1857 and 1914.
Hay feeding
The ideal way to feed forage (hay) varies among owners. Hay can be fed directly off the ground, but this method allows the forage to come in contact with waste, dirt, and to be mixed with the bedding. A corner apron of concrete can minimize forage contact with a dirty floor. A primary advantage of floor feeding is that it allows the horse to eat in a natural position.
Hay racks, hay bags, and hay nets keep forages off the ground. Hay fixtures should be used with caution since a horse’s leg may become caught if the horse kicks or rears near the rack or net. Consider the horse’s habits, personality, and behaviour before selecting a fixture. When a hay rack, net, or bag is used, the bottom end should be at chest height for the horse. Too high and hay dust falls into the horse’s eyes and nostrils; too low and the horse may become tangled. All weld joints on racks need to be strong and smooth with rounded corners.
There is much disagreement over the proper hay feeding station. A hay rack or net is disliked by some owners due to the inhalation and irritation of hay dust and its unnatural position for a horse to eat. An alternative to a rack or net is a hay manger. Mangers let the horse eat in a more natural position, are less prone to trap the horse, and reduce dust fall. A well-designed manger is usually made of wood, starts flush with the floor, and ends above horse chest height. Hay chaff and dust can accumulate in the bottom of the manger and must be removed regularly.
Tie ring
A ring for tying the horse is often placed at or above horse wither height. Place the ring away from the feed and water buckets and toward the back on one of the sidewalls. This keeps the horse secure when cleaning the stall or grooming and tacking. Be sure the wall is strong enough to withstand resistance from a horse, and fasteners are smooth on both sides of the wall.
Flooring
Many stall floor options are available and should meet most of the following requirements. Horses are hard on flooring so it must be durable against pawing and use by a 1,000-plus pound occupant. A good floor has some “give,” as a floor that absorbs some of the impact and weight of a horse will reduce stress on the horse’s legs and ease foot problems. The floor should be nonslip to prevent injuries, especially muscle pulls when the horse tries to stand from a lying position. Slippery floors can inhibit the horse from even trying to lie down.
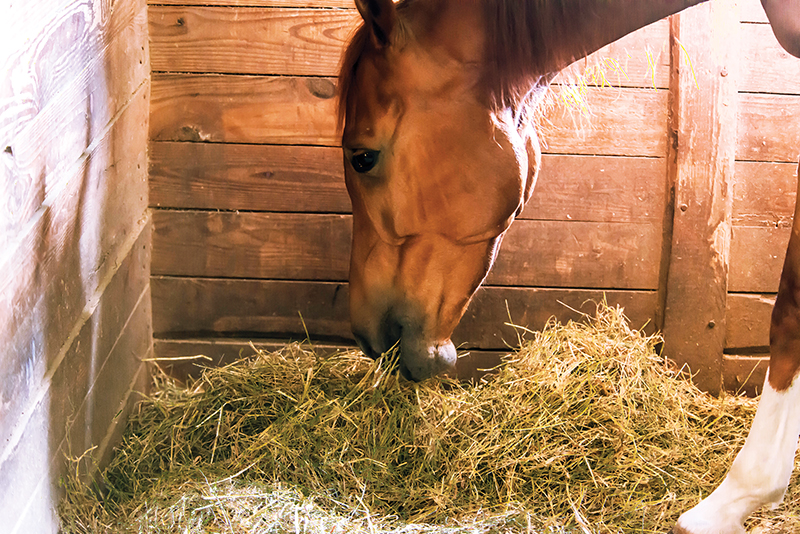
Forage can be fed off the stall floor, which allows the horse to eat in a natural position, but many horse owners prefer to use a hay net or rack to keep it free of bedding and dirt. Photo: Thinkstock/PhotographerEddie
Since horses have their heads close to the ground for most of the day, a non-odour (ammonia) retentive, non-absorbent floor is beneficial. Minimize the time needed to clean and maintain the stall floor by choosing a low-maintenance material. No single flooring material seems to have all the desirable attributes. Dirt has “give” but is not durable; concrete is durable but has no “give.” Some of the hardness of concrete and other unyielding materials can be overcome by using rubber mats or deep bedding. Sufficient bedding helps prevent sores or abrasions. Avoid flooring that can be slippery when wet.
By following simple guidelines that consider both handler and horse needs, you can provide a pleasant and safe stall environment. Fortunately, there are many good options for horse stall components. For example, doors and flooring materials are quite variable among successful stables. Good, safe, and easily managed stables incorporate the features presented here that address stall size, durability, and horse care. Providing a stall of proper dimensions with a good environment is essential.
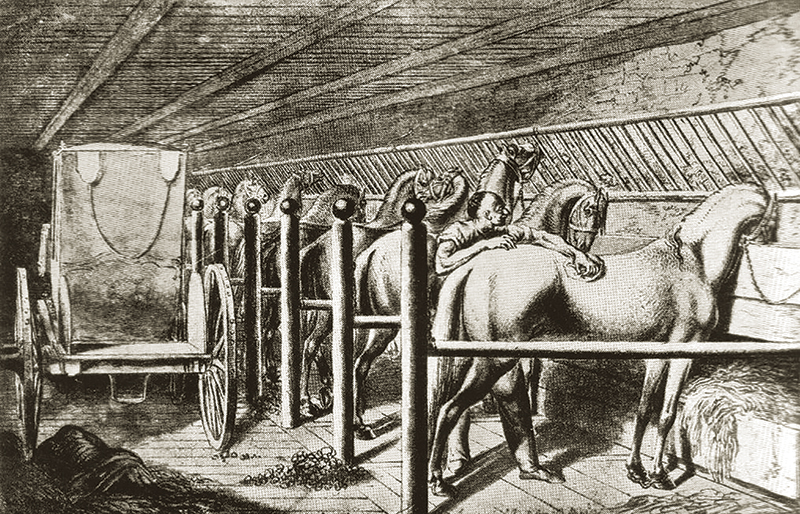
An artist’s depiction of tie stalls in a horse stable in Gdansk, Poland, 1773. Photo: Wikipedia
This article is printed with kind permission from Penn State Extension.
Main Photo: Shutterstock/Artazum


