By Kevan Garecki
When spring is just around the corner, our thoughts turn to riding, riding, and more riding. While not nearly as enrapturing, save some consideration for that lonely chariot outside, which gets our beloved steeds to and from events, shows, and trails. Every trailer that has been parked or stored for the winter should undergo a methodical inspection and maintenance routine before hitting the road each year. Safety should always be of primary concern, but comfort is important as well – every time a horse has an unpleasant trailering experience, he or she will go through that much more stress on the next trip.
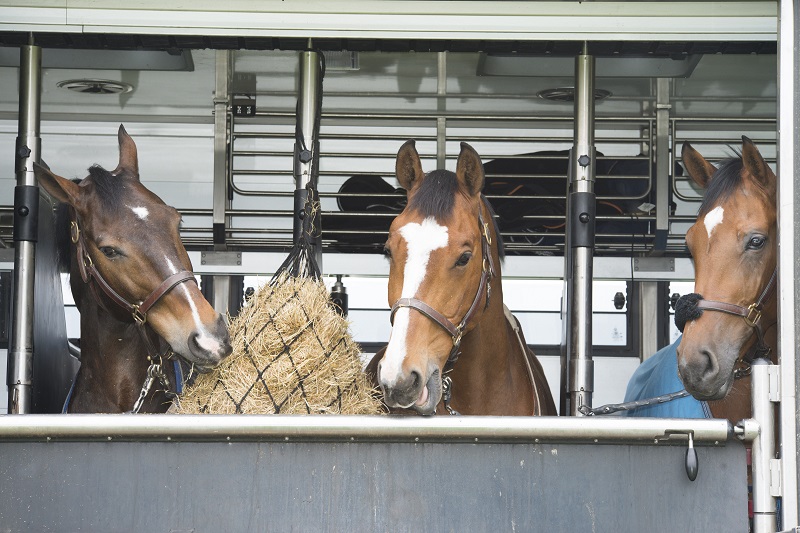
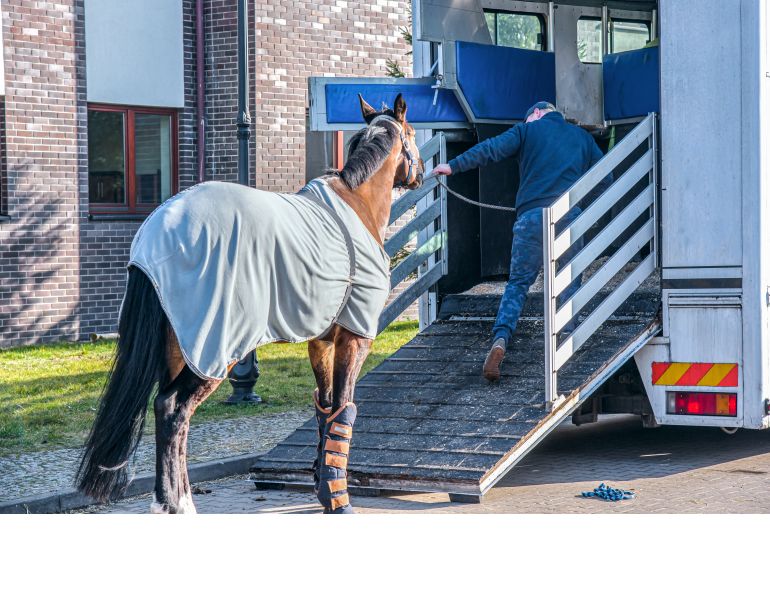
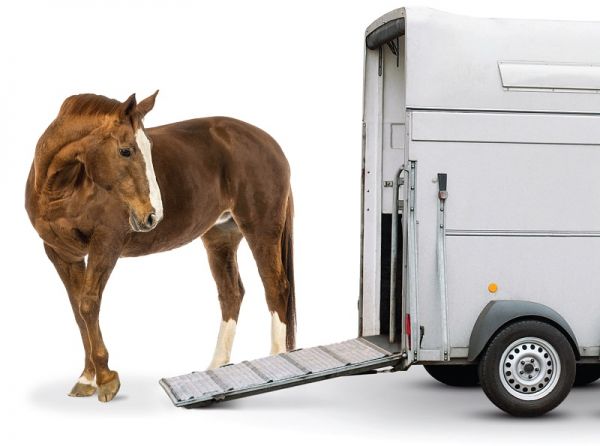
The horse trailer can serve as your horse’s home away from home. A safe and comfortable trailer environment will reduce the risk of your horse having an unpleasant experience which will make future trips much more stressful. Photo: ©CanStockPhoto/Egonzitter
If you were diligent about preparing your rig for winter, it should be clean, but may still need a bit of freshening up from all those months spent under Old Man Winter’s care. Regardless of the amount of use the trailer saw over the winter, the change in conditions is enough to warrant a thorough visual inspection of the exterior and interior of the entire unit. I use a simple approach to the interior: If I wouldn’t want to run my bare hand over something, then I probably don’t want to load my horse in there either.
Pay particular attention to the following:
- Electrical components are particularly sensitive to moisture and corrosion over long periods of time. This often arises in the form of mysterious little gremlins who diligently prevent our lights from working, but long periods of idleness can also negatively affect trailer braking systems, often to the point of rendering them inoperable. Before loading for the first time, and once you’ve checked the unit over for road readiness, hook up and take the trailer for a short drive to ensure the brakes are working correctly. If you have any doubt, have the braking system checked by a reliable mechanic. I cannot overstress this point – the braking system on most trucks is not singularly capable of bringing a fully loaded trailer to a safe and controlled stop.
- Check the electrical plugs on both the truck and trailer, both should be free of corrosion. Don’t use WD-40 on these plugs, as it will make dust and dirt stick to them. Many hardware and automotive stores sell specific contact cleaner designed expressly for this purpose – it’s cheap, lasts a long time, removes the corrosion instead of just covering it up, and leaves a protective film behind to reduce future oxidization.
- The breakaway switch should be checked for proper operation before every long trip, and at least once a month during the regular towing season. With the electrical cord unhooked (and the trailer battery fully charged), pull the ripcord from the breakaway device. Ease the truck ahead a few feet. The trailer brakes should fully engage. If not, check the breakaway switch, the trailer battery, and all associated wiring. Every trailer equipped with brakes must have a functioning emergency braking system; and that system must be capable of independently holding the trailer brakes fully applied for no less than 15 minutes. Most newer types of trailer brake controllers incorporate some sort of digital switching or current detection in order to facilitate smooth and dependable operation. These sensitive circuits can be easily damaged by sudden current changes. Whenever the breakaway switch is activated, the battery in the trailer sends a full charge of current directly to the brake magnets. This surge can destroy a complex brake controller, so it’s imperative the electrical plug is disconnected from the tow vehicle before testing the breakaway switch. In addition, part of the test is to ensure the trailer battery is in good condition. If the electrical plug is attached to the tow vehicle, the trailer could receive current from the truck’s charging system, which would not provide you with a true test of the emergency braking system.
- Mold, rust, and corrosion will cause problems later, so a good cleaning inside and out is always a wise step – both for our comfort and for the horse’s safety. Mold can invite respiratory ailments, and can cause issues even during a relatively short ride. While rust and corrosion can compromise structural body components, the same process can also leave indelible cosmetic blemishes on trailer finishes. Look for signs of leaks particularly from doors, windows, body joints, roof vents, and rivets or bolts. Water entering from a loose connection will leave a residue trace on the wall, so they’re usually fairly easy to spot after the trailer has been sitting for some time.
- Tires can typically lose anywhere from 3-5 PSI per month from minor bead imperfections, porosity, and other compromises. Never operate a trailer which has been stored for an extended time without ensuring all tires are inflated correctly, including the spare. Take time to inspect the sidewalls, particularly if the unit has been parked in a damp environment. Tires are the principle contact your trailer has with the road, and they bear the weight of the trailer plus its precious cargo.
- A wondrous variety of creepy, crawly, and industrious critters can homestead on, in, or under our trailers as they hibernate. Depending on your particular locale, this can range from relatively innocuous insects to things with fur, four legs, and a bad attitude. Look for signs of pest infestations and deal with the removal and clean up as soon as you find them.
- Canadian winters can vary from a few exceedingly wet months in coastal regions to seven months or more of sub-zero temperatures and/or snowfall that would make a skier swoon. Each area has its own caveats and concerns for trailers, but the most common issues are leaks; damage from ice, snow or wind; and mechanical issues such as seized brakes, electrical gremlins and rusty moving parts. Ensuring everything is working correctly in the spring will minimize the likelihood of more serious issues later in the towing season, and may prevent costly breakdowns, delays, or even accidents.
- Carefully inspect floor mats for curls, jagged edges, and tears. Horses can and have become seriously injured from having ill-fitting mats lift up or move while in transit. The same care should be afforded to wall matting, padding, and other surfaces that receive regular wear and tear. This is good place to mention that bedding on the floor is required by law. There are a few very good reasons for this. Bedding allows for better traction, can absorb some of the road noise and vibration, and minimise damage from urine and manure. During dry periods lightly mist the bedding with water to reduce airborne dust.
- Invest some time on the tow vehicle as well. An under-hood check should be done with a bit more critical eye than usual.
- Check all belts, hoses, electrical components and batteries; any sign of unusual wear, leaks or minor fault should be fixed before placing the tow vehicle into service for the towing season.
- Spring is a good time to schedule major component servicing, such as tune-ups, having the transmission and differential fluids changed, and the cooling system checked and flushed if needed.
- Take stock of your emergency kits now as well; ensure yours contains the most frequently needed replacement parts such as light bulbs and fuses. For trips that will take you and your horses farther from home, consider stocking extra drive belts for the engine, spare jugs of coolant, engine oil and any other consumable items that may be hard to find when you’re away from home (or late at night!).
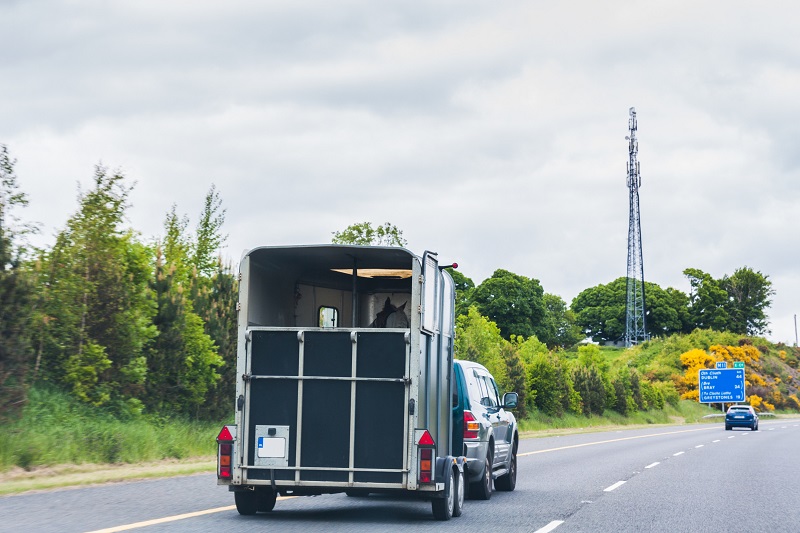
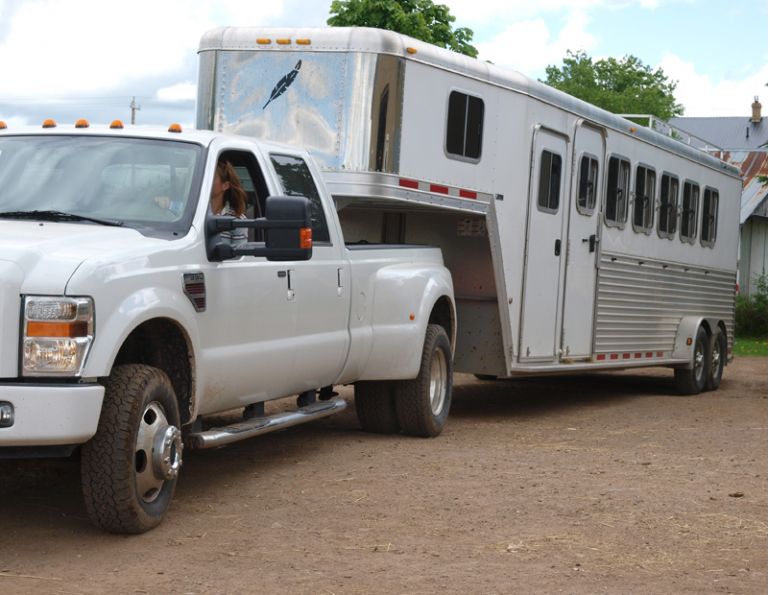
Before hitting the road for the first time this season, ensure that electrical plugs and components are in good working order. Take the trailer out with no horses on board to test that the braking system is working correctly. Check the breakaway switch once a month during the regular towing season, and before every long trip. Photo: ©CanStockPhoto/Semmick Photo
Related: Emergency Preparedness for Horses
The Other Stuff
- Check and replenish the first aid kits – one for you, one for the horses.
- Check BOTH fire extinguishers – one for the truck, one in the trailer. Both should be very easy to get at and inspected annually before each trailering season.
- Be sure to have a jack and spare for both the truck and the trailer.
- Carry a large can of tire inflator. These can be purchased at any automotive supply.
- Keep a set of reflectors stored in the truck. Those large triangular ones the big trucks use are inexpensive and easy to use. They can be purchased at any truck dealership or industrial supply.
Every unit is a bit different, so the advice I’ve offered is generic. Certain units may require special care or attention to particular details. If in doubt, always go with the manufacturer’s suggestions or the opinion of a mechanic familiar with your type of trailer.
While some of us are comfortably conversant with repacking wheel bearings, adjusting brakes, and the more involved procedures aimed at safety and road worthiness, others cringe at the thought of checking tire pressures. For the both groups, I routinely suggest letting a professional have a go. For the do-it-yourselfer, joining a licensed mechanic can offer renewed perspectives on how we conduct our own procedures. I frequently gain hints and tips whenever I visit my favourite shop, and usually have a host of questions ready before I arrive there. Even the least inclined neophyte can glean some tips, regardless of how much they may want to avoid learning them! I always encouraged my daughter to become involved in the seemingly endless queue of machinery that passed through our place on any given week – from repairing sewing machines to wrangling wheel loaders and bulldozers, she unwillingly learned enough about the vehicles to at least be aware of potential issues before they become problems (now she can even keep up with her mechanic husband when the topic turns to truck talk!). Just because we work in a dentist’s office doesn’t preclude us from the duty of knowing at least when something isn’t right with a trailer.
Related: How to Load a Horse Into a Trailer
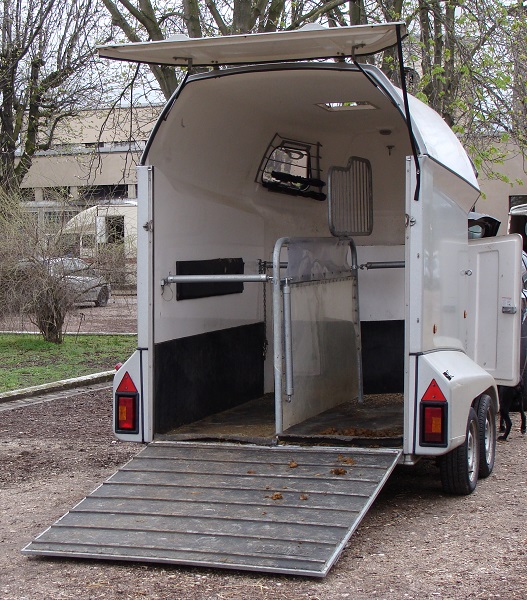
Thoroughly inspect your trailer’s floor. Mats should be pulled up to allow you to examine the floor from above, and the mats themselves should be scrutinized fur curls and jagged edges. With the trailer blocked to prevent movement, jack the rear of the trailer high enough to allow you to crawl underneath to carefully inspect the bottom of the floor and exposed wiring. Photo: Jebulon/Wiki
The accessory or breakaway battery in many trailers is a dry-cell single use type, and can become discharged over time even without any apparent use. The average useful life of these cells is two years, so it’s important to have the battery tested every year before the busy towing season begins. A simple but very effective modification involves replacing the dry-cell breakaway battery with an RV or marine deep-cycle battery, and having the trailer accessory circuits wired directly to this battery. This not only has the distinct benefit of significantly higher emergency capabilities, but boasts the ability to be recharged by the tow vehicle’s own charging system (single use dry-cell batteries cannot be recharged and must be replaced much the same as standard flashlight batteries). Another benefit to this arrangement is that most automotive batteries will last five years or longer, so in the long run this investment definitely pays off. If your trailer already has a deep cycle type battery, then it should be checked at least once a year with a proper load tester, a device that simulates the maximum load the battery was designed to withstand.
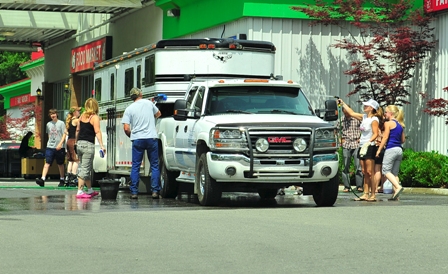
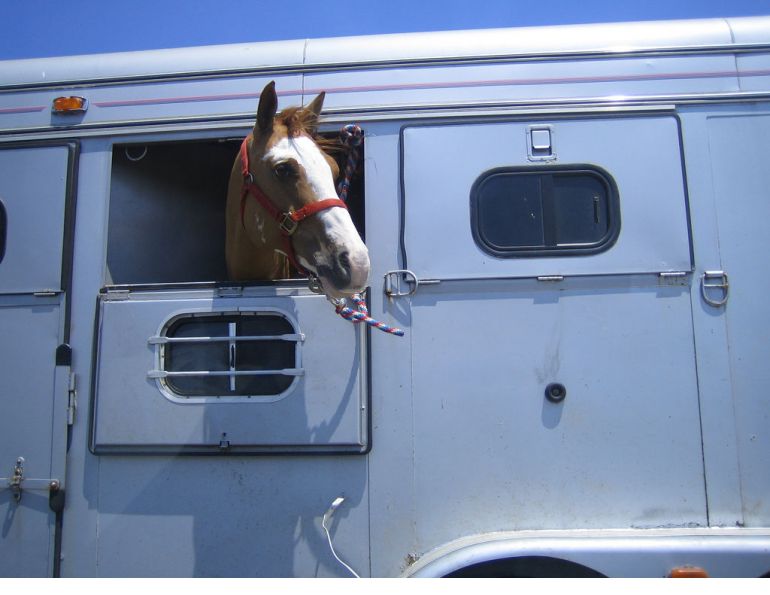
Part of your rig’s annual check-up should include a good spring cleaning inside and out. Photo: Mane Frame Photography
Flooring is seldom on the list of things we want to check out, but I’d rather crawl under there during a warm spring day than on a cold rainy night, or find out about that weak board after a horse steps through it. Be prepared to get smelly and dirty while performing this one, as the floor seldom gets any attention. The smell will wash off, and the rest of the dirt and grime will too. With the trailer securely blocked to prevent any forward or backward motion whatsoever, jack the rear of the unit high enough to get underneath, allowing you to inspect the bottom of the floor, cross-members, suspension, and any exposed wiring. Pay particular attention to welds and other joints, as these are often prime areas for cracks to start. If I do find a crack in a structural component I think not only of how to fix it, but why it failed in the first place. Some may be from poor design or materials, but they can also be a sign of metal fatigue or from simply overloading the trailer. I can’t stress this part strongly enough: If you do discover a crack or other structural failure, the trailer should be carefully assessed by a qualified trailer repair shop. Many good welders and/or fabricators can determine the reason for the failure and repair the damage while increasing the capacity of the failed area. Once again, a timely repair is often much less expensive than replacing a failed component.
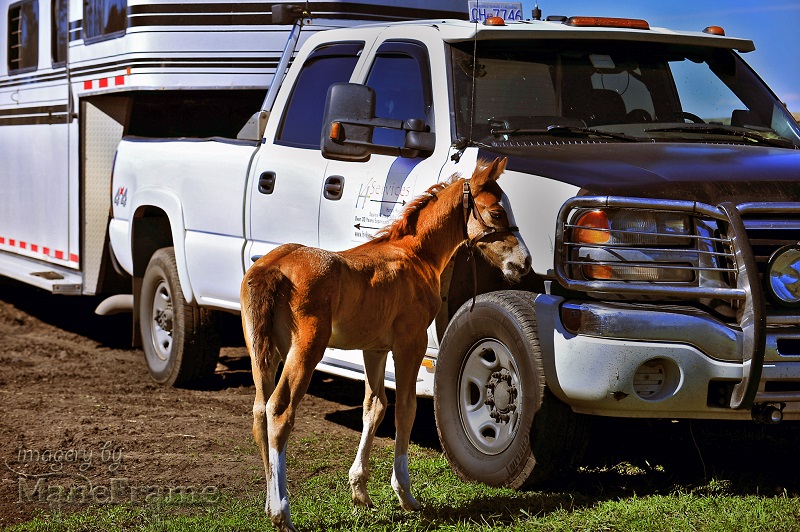
Protect your precious cargo by catching small problems before they turn into emergencies. Photo: Mane Frame Photography
The take home message is simply one of preparation to prevent a small problem from creating an emergency later on, to avoid irritating issues, and most importantly, to maximize the safety for our equine friends. I like to include the following statement in all of my trailering clinics: There is nothing in a horse’s instinctual response mechanism that can help him or her in the event of a crash or other trailering emergency. In other words, we are utterly and completely responsible for our horses’ well-being.
Related: Inside Your Horse Trailer - a Horse's Perspective
Related: How to Haul a Horse Safely
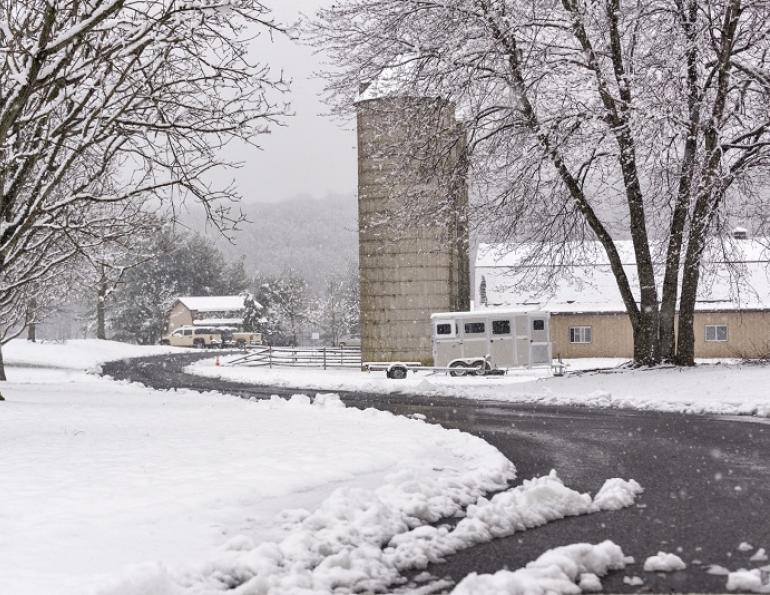
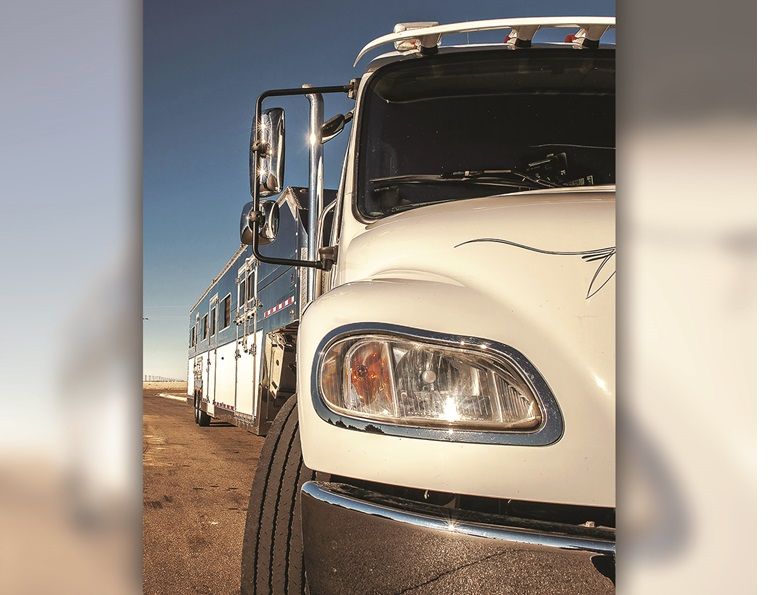
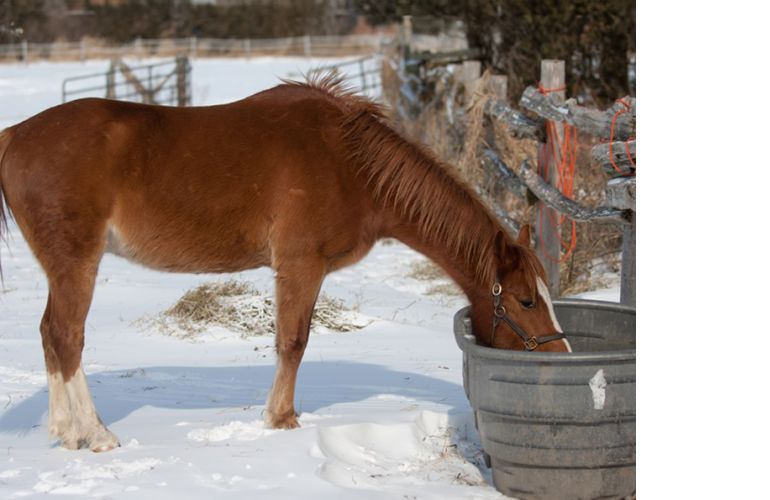
Main Photo: Every trailer that has been stored or parked over the winter should undergo a systematic inspection and a maintenance routine before being put back into use. Credit: Lee Ann White/Stock Photos/Photos.com


