By Lindsay Grice
Q: I have been showing my Paint gelding in the Hunter Under Saddle and Equitation on the Flat divisions in breed and club shows and would like do start over fences this season. How do I prepare him for this?
A: Since you have already shown equitation patterns, your horse likely has a good knowledge of flatwork (leg yielding, hip control, collecting, extending). This is a great base from which to begin work over fences.
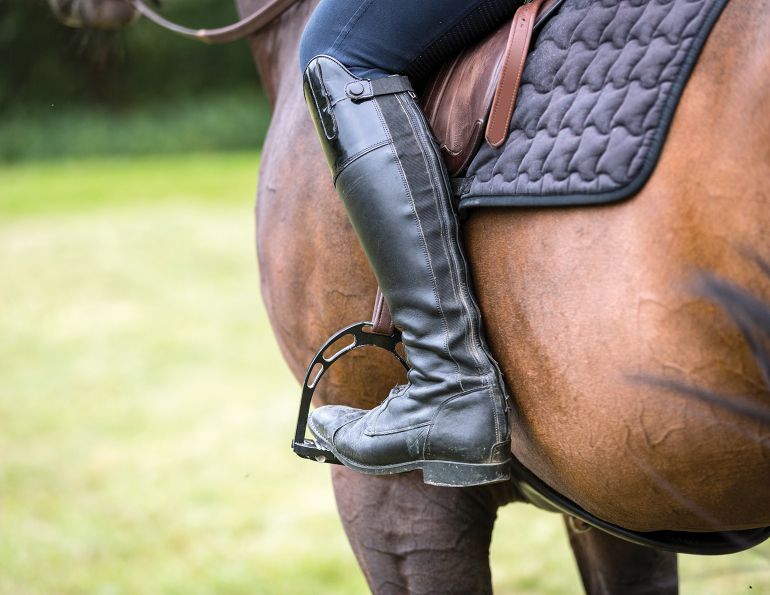
Firstly, take some time to develop the tools you will need to be a safe and effective rider over fences. A secure seat, a deep heel, and following hands are essential for a rider to jump well. Log some miles in a deep heeled, two-point position at the canter and over ground poles. This is a great leg and back strengthener. You will likely need to ride with shorter reins than you are used to; practice resting your knuckles on your horse’s mane as you are cantering in two-point position, following the motion of his neck by opening and closing your elbows. This will enable you to follow his motion over a jump without catching him in the mouth — a sure confidence shaker!
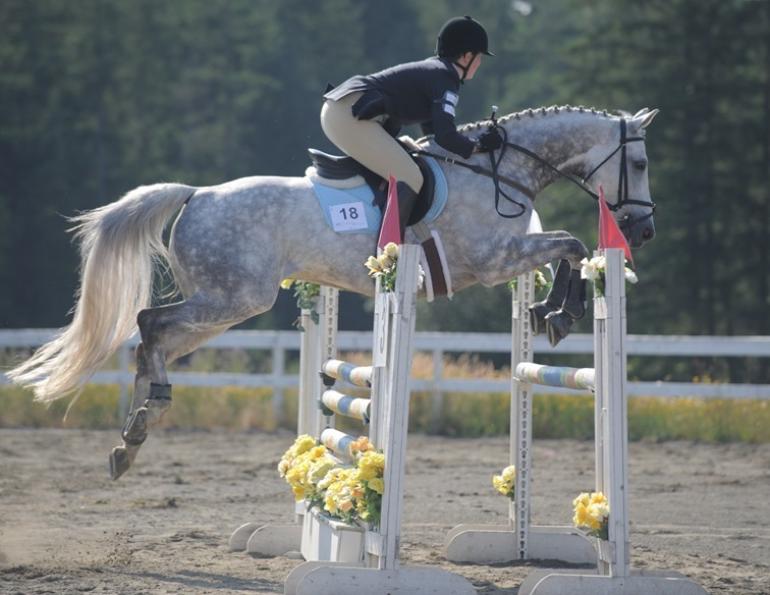
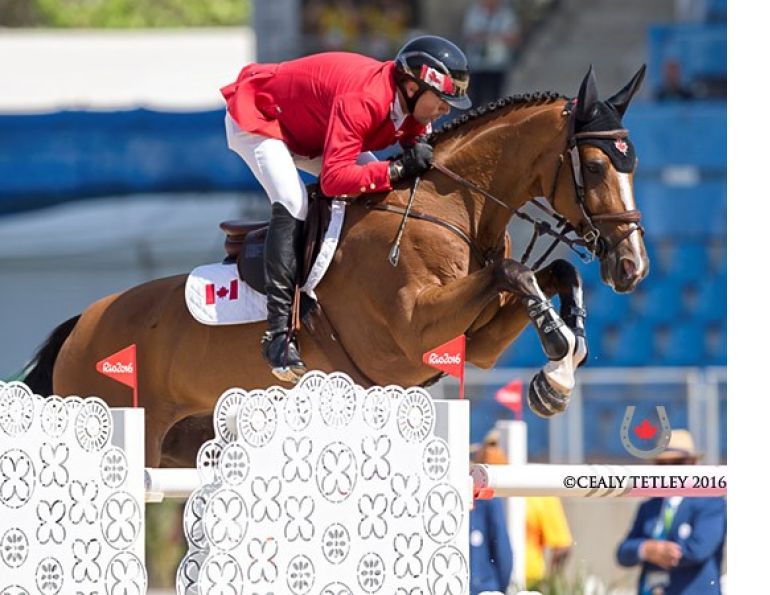
Essentially, the responsibility of the rider when starting her horse over fences is to get him to the fence FORWARD and STRAIGHT.
FORWARD. As most hunter fences are set apart in twelve foot increments (with a six foot takeoff distance and six feet on the other side for landing) you will have to get to know what your horse’s twelve foot stride feels like. To be honest, some shorter strided horses have to gallop to achieve this and these horses might be better suited to an event such as trail where a shorter stride is a bonus.
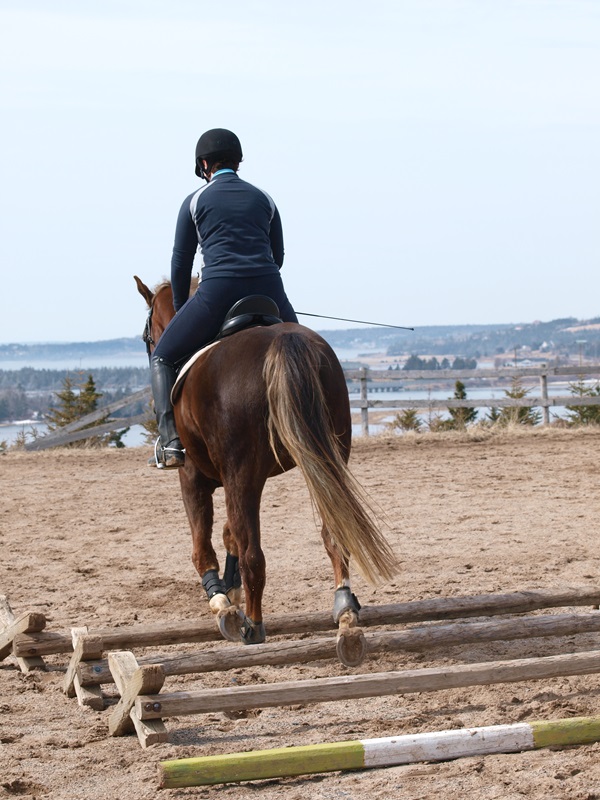
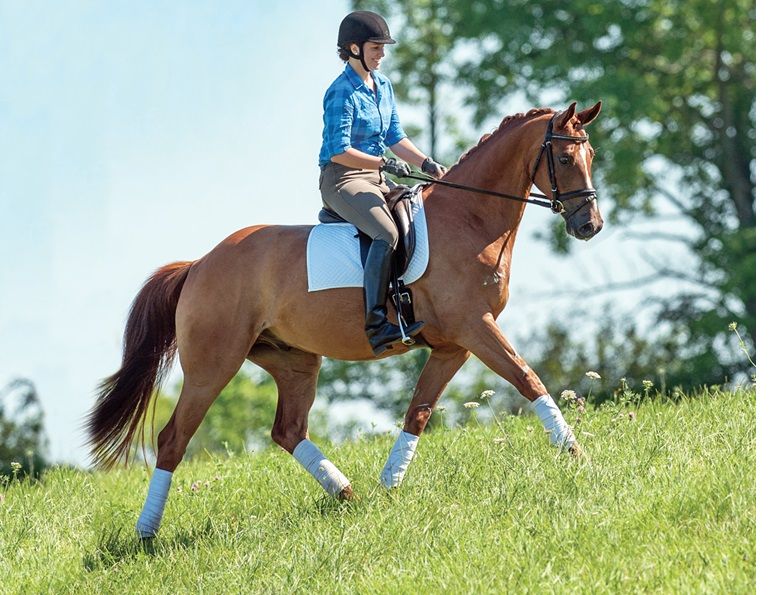
Practicing going over ground poles in two-point position will keep you secure and effective over fences. Photo: Pam MacKenzie
Your horse must lengthen his stride immediately and calmly when asked. Practice compressing your horse’s stride to a seven foot length (without allowing him to fall out the “back door” into a trot in the process) and then stretching to a twelve foot stride. Soon your horse will be as adjustable as a rubber band.
Start cantering over poles before real jumps. You will measure a one foot takeoff and landing distance instead of six feet on either side for a jump. Keep the striding shorter at first, perhaps ten feet, before advancing to the twelve foot distance for jumps.
STRAIGHT. A line of jumps must be approached, jumped, and departed from in a straight line for at least three reasons. First, a horse can’t jump in good form unless he leaves the ground with his body in line, bearing equal weight on both hind legs.
Second, a 72 foot distance, for instance, becomes a 75 foot distance when ridden on an angle (you knew you’d need that grade nine math for something!), forcing your horse to put in an awkward half stride. Third, departing from the jump in a straight line will balance your horse for an upcoming flying change or to canter around the corner without dropping his shoulder.
Practice jumping lines of poles, keeping your horse perfectly straight at least four strides before and after your poles. Stop at the fence line often instead of cantering around the corner. Doing so will prevent your horse anticipating a turn. If he does, perhaps turn the other way instead.
After these basics are in place, you can start on very low, single fences, starting from a trot, then cantering away and stopping on a straight line. It is a really good idea to have someone who is competent over fences to help you at this point. Mistakes made by a novice can quickly take away the confidence of a green horse, resulting in rushing, head tossing, and refusals. Taught in slow increments, without moving out of the comfort zone of you or your horse too quickly, jumping is a great way to keep your horse fresh and to raise your skill as a rider. It’s also a lot of fun!
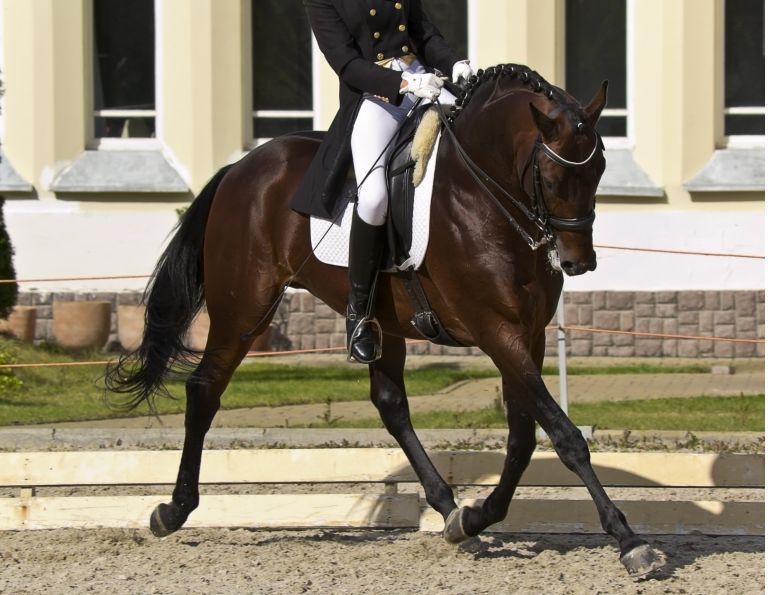
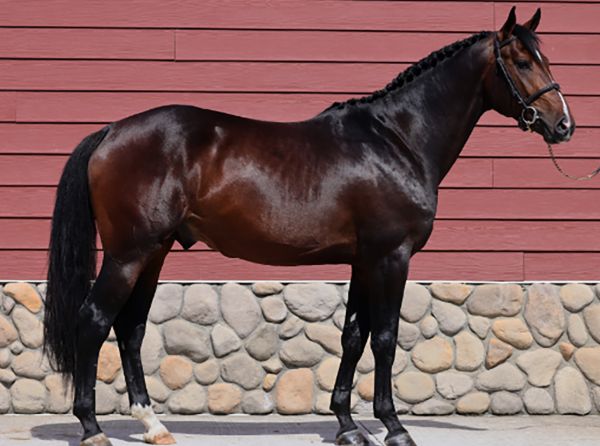
Main Photo: Robin Duncan Photography - It is the rider’s responsibility to get the horse to each jump forward and straight.


